How do I install OS on SATA hard drive on the SN85G4?
 To install a SATA hard drive on the SN85G4, a floppy drive( or USB floppy drive) and floppy disk with the correct RAID driver are essential
.
Before you start you need to do the following (This procedure will need to be done on other system):
- Insert the motherboard driver CD into your CD-ROM.
- Copy all files in RAID directory (D:\silicon\RAID) to a floppy disk. (Current CD driver is in Drive D) or download from here
- Using the floppy disk in the installation procedure as follows.
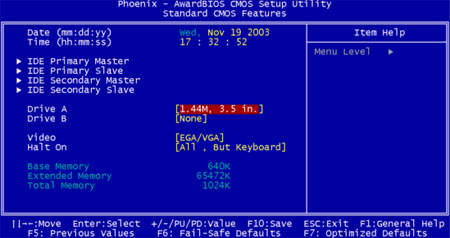
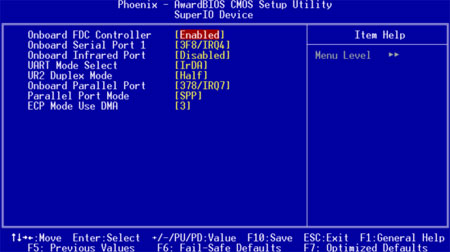
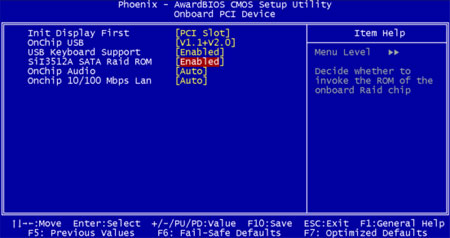
Go into the BIOS setting to enable; Drive A, Onboard FDC Controller and SiI3512A SATA Raid ROM.
- Enable Drive A if you are using floppy drive. If you are using USB floppy drive, leave the Drive A as None.
- Enable Onboard FDC Controller
- Enable SiI3512A SATA Support
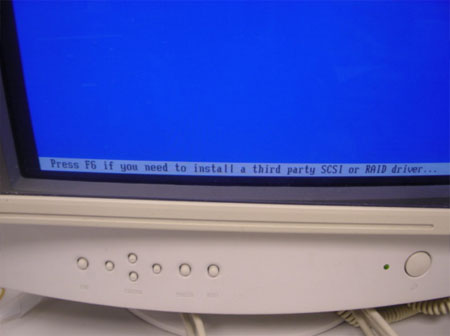
- Installing Windows
- Press F6 function key when RAID setup message string come up.
- Press S key to select RAID driver.
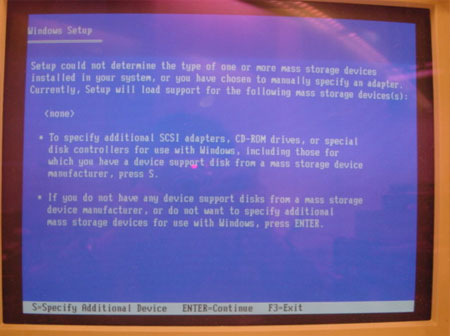
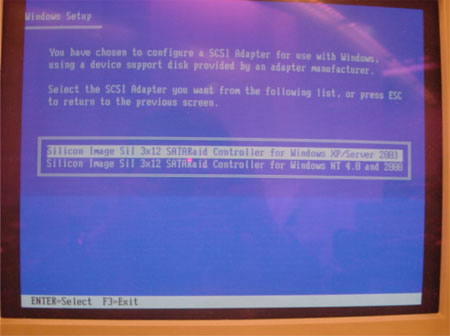
- Select the driver for your operating system.
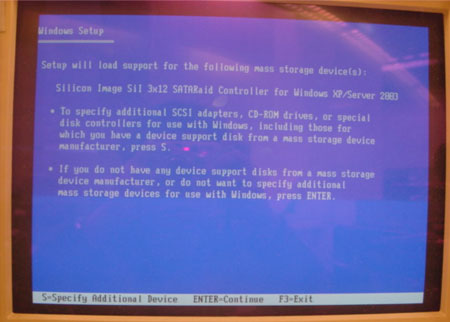
- After the driver is selected. Press Enter to continue installing Windows.
 |