Path: Home XPC ST61G4
|

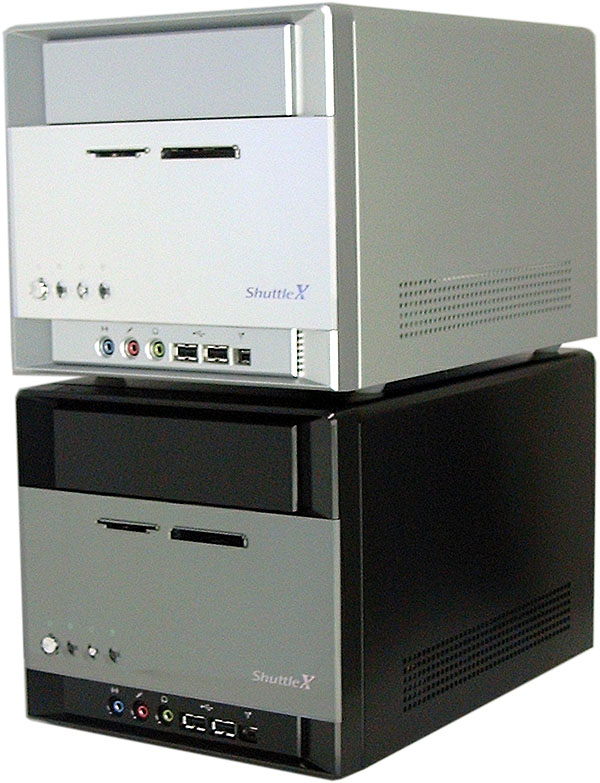 Standard version (silver), XIB-Version (black) |
|


Frequently asked questions (FAQ)
How do I install OS on SATA hard drive on the ST61G4?
To begin, installation of SATA hard drives on the ST61G4 requires a floppy drive and floppy disk with the correct RAID driver.
Before you start the installation you need to do the following (This procedure will need to be done on another system):
1. Insert the motherboard driver CD into your CD-ROM.
2. Copy all files in RAID directory (D:\silicon\RAID) to a floppy disk. (Current CD driver is in Drive D)
3. Use the floppy disk in the installation procedure as follows. Go into the BIOS setting to enable; Drive A, Onboard FDC Controller and SiIicon Image SATA Raid ROM.

Enable Drive A
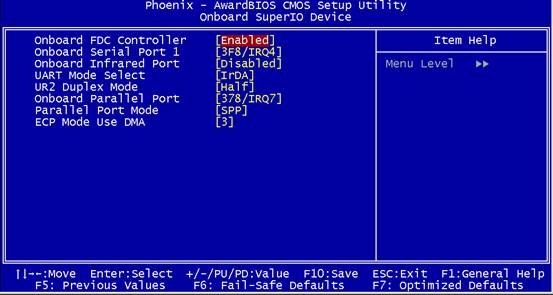
Enable Onboard FDC Controller
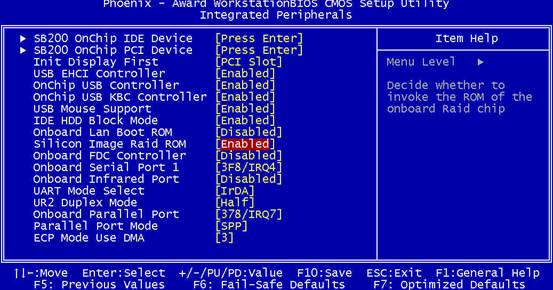
Enable Silicon Image Raid ROM Support
Installing Windows
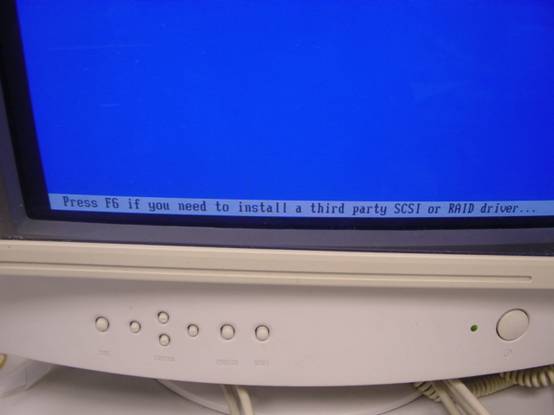
Press F6 function key when RAID setup message string come up.

Press S key to select RAID driver.

Select the driver for your operating system.
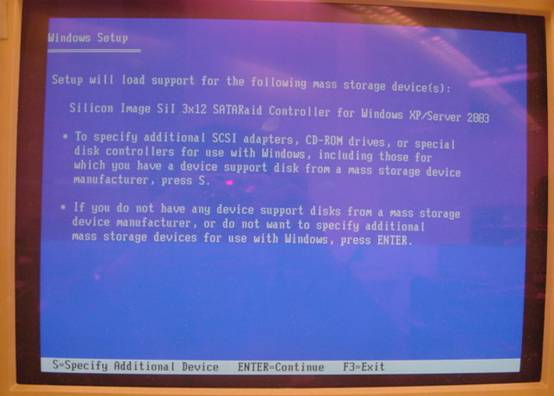
After the driver is selected. Press Enter to continue installing Windows.
![]()
Print version of this page: http://eu.shuttle.com/st62g_faq2.htm
Shuttle Computer - European Headquarters - All rights reserved - Date:
30.4.2008