SYMPTOMS:
The operating system does not show the correct capacity for drives greater than 137GB.
i.e. The operating system shows less than actual capacity when a hard drive greater than 137GB is installed.
Solution: Please refer to the explanation on Microsoft’s web site.
http://support.microsoft.com/default.aspx?scid=kb;en-us;Q305098
Note: This solution is NOT applicable for Windows 98 and Windows ME.
Step 1: Partition C drive into multiple partitions each less than 137GB. Then proceed to install Windows XP or Windows 2000.
Step 2: Obtain the latest service packs for Windows XP or Windows 2000 from Microsoft’s web site and proceed to install them.
Step 3: Microsoft suggests the following steps:
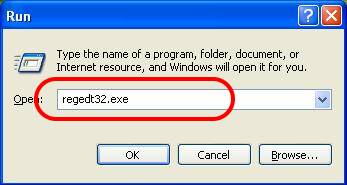
Execute Regedt32.exe and locate
HKEY_LOCAL_MACHINE\SYSTEM\CurrentControlSet\Services\Atapi\Parameters.
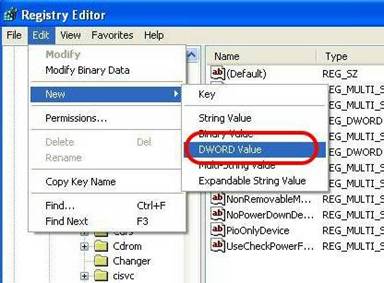
Adding a new registry value: “DWORD Value”.
Input the variable name: EmableBigLba
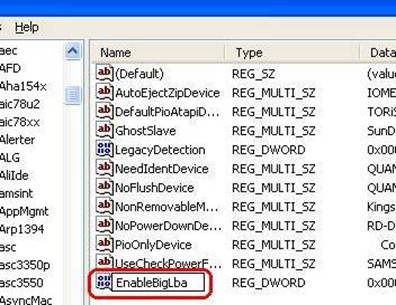
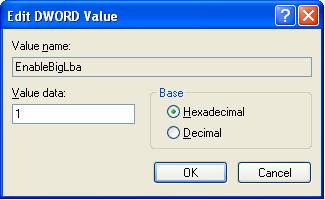
To set Value name: EnableBigLba and Value data: 1
Restart your computer.
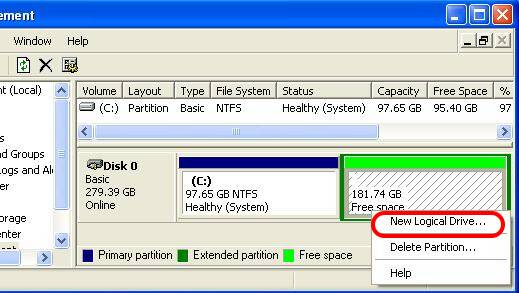
You will now be able to see the “rest capacity” of the hard drive in Computer Management.

Step4: Partition the “rest capacity” to desired size. Right_Click and choose "New Logical Drive".
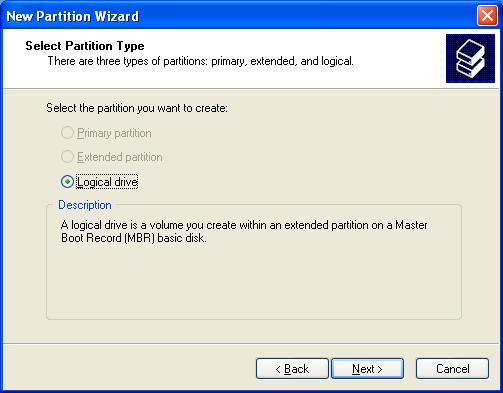
Step5: Use New Partition Wizard to partition the “rest capacity.”
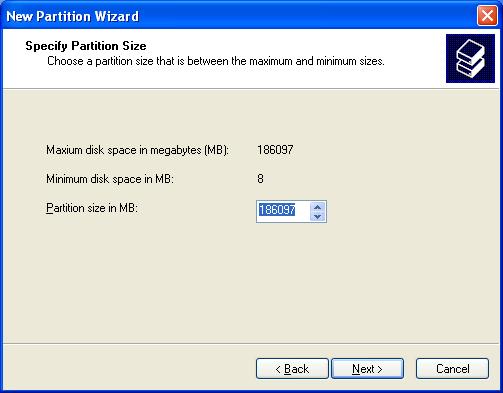
Input the desired capacity or use the maximum disk space.
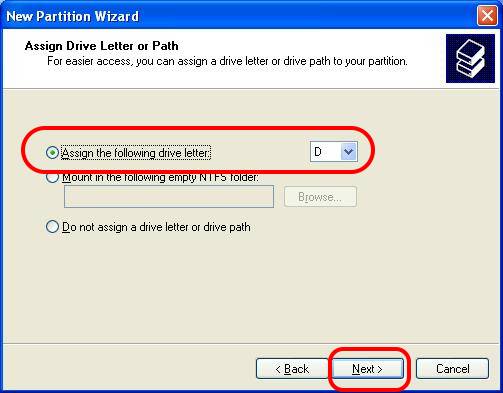
Assign the drive letter or use the default letter.
Format the partition with desired file system.
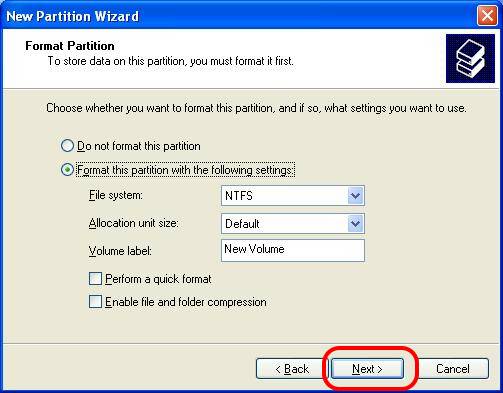
Upon completing the New Partition Wizard. Please click "Finish".
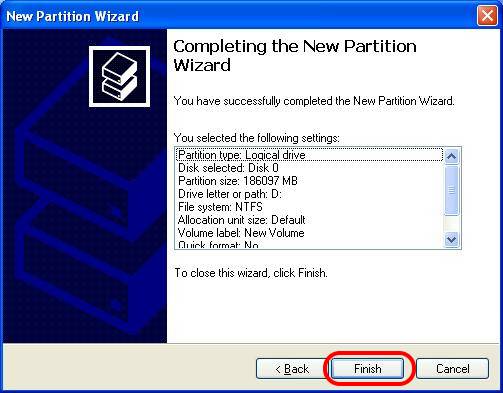
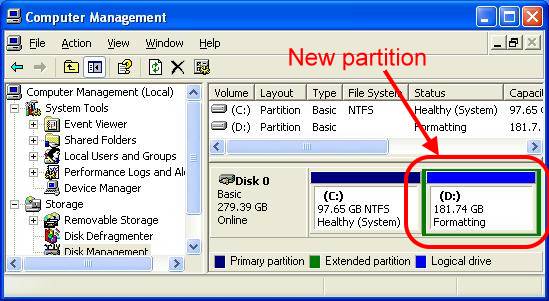
You will see the new partition in Computer Management.
Setup6: After partitioning, please restart your computer and format the new partition.
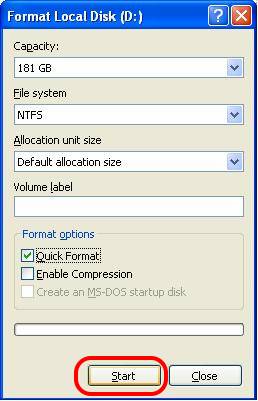
Right_Click on the drive and choose "Format".
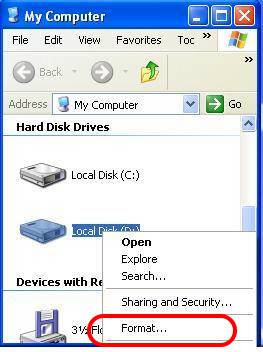
Click Start
You’re all done!